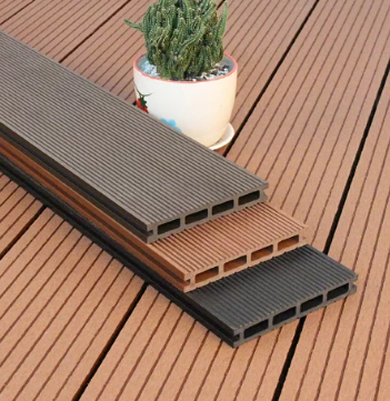
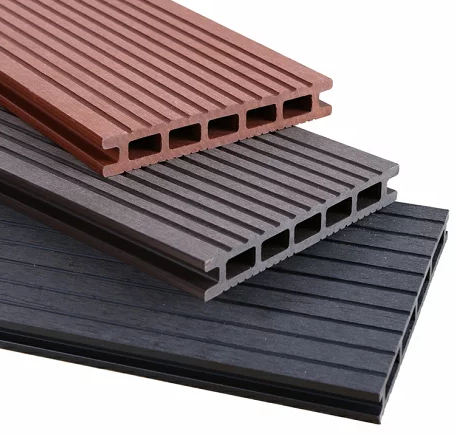
Wood-plastic composite flooring is not easy to rot or deform, and is waterproof, mildew-proof, and corrosion-resistant. It is very suitable for use in outdoor environments, such as gardens, terraces, and around swimming pools. It can also simulate various wood grains and colors to meet the needs of different decoration styles.


Product Features

Product Features
Strips can be spliced together at will, and the size can be controlled at will.

Strong resistance to stress
Compression-resistant design, comparable to hardwood.

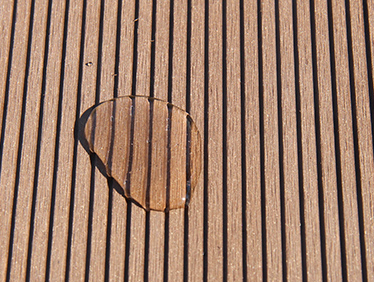
Anti-slip drainage
Waterproof and anti-slip, no water accumulation, smooth and burr-free.

Colors available
0 formaldehyde, no benzene, environmentally friendly and healthy, available in optional colors.
To provide detailed installation instructions only:


installation method
Seamless installation

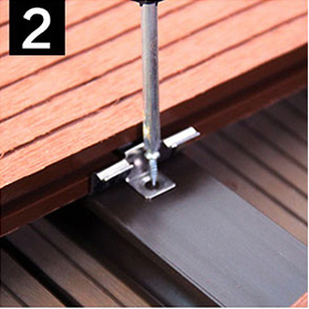
Fix the Card buckle to the back of the floor with screws.
Fix the Card buckle to the keel.


Join two pieces of flooring.
The installation is complete

1. Preparation work:
Make sure the installation ground is flat and dry, and remove debris and dust.
Check the floor for any obvious unevenness and trim it if necessary.
2. Ground moisture-proof treatment:
If the ground is prone to water accumulation, moisture-proof treatment needs to be carried out first. Moisture-proof membranes can be laid on the ground or waterproof materials can be painted on the ground.
3. Determine the installation direction:
Determine the laying direction of the floor based on design requirements.
4. Measure and cut:
Use measuring tools to accurately measure the size of the area to be paved.
Use a saw or cutter to cut the flooring to fit the area being laid.
5. Install the floor frame:
If required, a wooden floor frame can be installed. The function of the frame is to improve the stability and support of the floor.
6. Install the floor:
Starting from one side of the laying area, lay the floor step by step in the determined direction.
Use appropriate screws or fasteners to secure the floor to the ground to ensure that the floor is stable.
Leave appropriate gaps between adjacent floors so that the floors can expand and contract freely as temperatures change.
7. Fixed edge:
Use floor edge fixing strips or wooden frames to fix the edges of the floor to enhance the stability and beauty of the floor.
8. Clean up:
After installation is complete, clean dust and debris from the floor surface.
9. Acceptance:
After completing the installation, conduct final acceptance to ensure that the floor installation is stable and beautiful.
Note: In actual operation, the installation steps should be flexibly adjusted according to the specific situation, and the installation instructions provided by the manufacturer should be strictly followed.
![]()
Our commitment
About color difference
Due to light sensitivity, monitor settings, lighting and other factors, there may be slight color differences between the picture and the actual product. Please refer to the actual product for the final color.
About purchasing
We can provide samples for free (customized models are not provided for free). If the customer is optimistic about the product, we will cut the material according to the size, quantity, color, and length required by the customer. The customer must sign a purchase contract with us before purchasing.

Hot Tags: wpc wood panel outdoor, China wpc wood panel outdoor manufacturers, suppliers, WPC Outdoor Wall Panel, Outdoor Privacy Co extrusion Fence, WPC Interior Louvers, Suspended WPC Ceiling, Prefabricated Light Gauge Steel Building, Prefabricated Building


