Products Description
| Product Name: |
First generation wood plastic wall panel |
|
Size |
219*26mm |
|
Length |
2.9m, 3m and Customize |
|
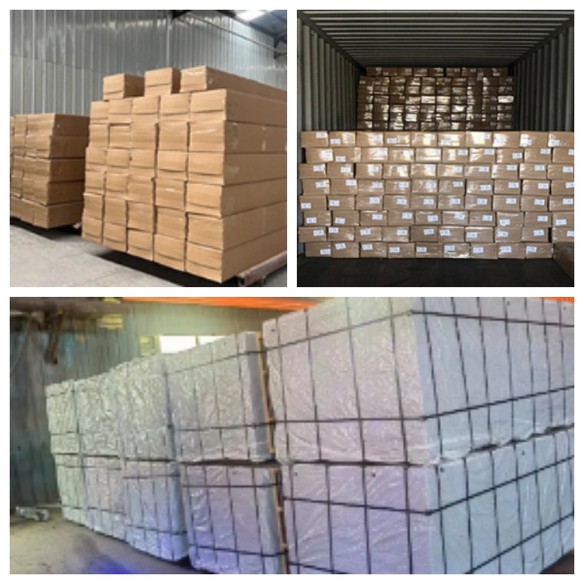
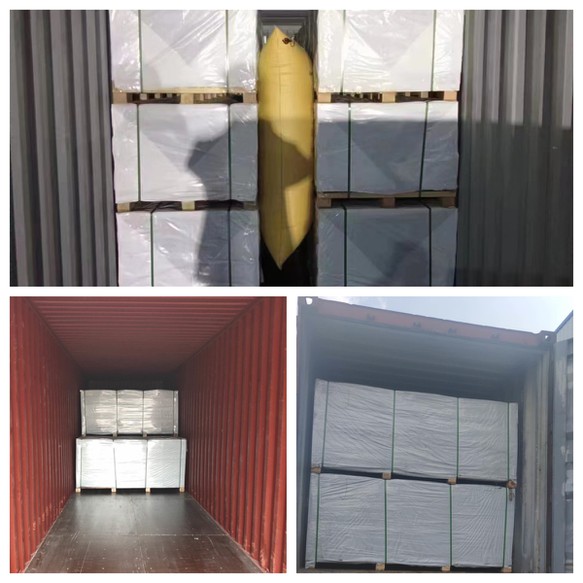
ransport Package |
Pallet/Carton Box |
| Application: | Apartment, Home Wall Decoration |
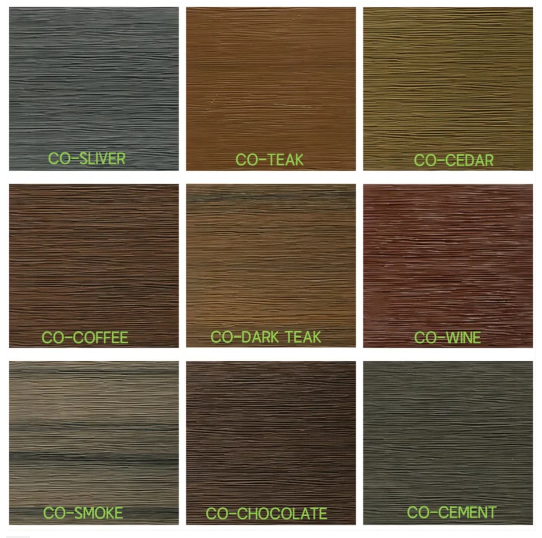
| Color: | coffee,sliver,teak,chocolate,smoke,dark,cement, teak,black,cedar,wine |
| Material: | 60%HDPE, 30%Wood Fiber, 10% Additives |
| Type: | Wall Outdoor Cladding |
| Function: | Outdoor Decoration |
| After-sale Service: | Online technical support |
| Advantage: | Waterproof,Mildew Proof,Anti-Moth,Without Formaldehyde |
There are two types of wood plastic flooring available: first generation (traditional) and second generation (co-extrusion). The second generation floor is an upgraded version with anti-aging properties and double the service life. A protective film resolves common plastic wood issues, providing superior performance against moisture, UV rays, fungi, and bacteria.

Products Advantages:
1. 100% Recycled, environmentally friendly
2. Waterproof, fireproof, insect-proof, anti-slip, anti-corrosion
3. Longer service life
4. Easy to maintain, comes with its own color, no need for painting
5. Good dimensional stability and not easily deformed
6. Easily cut/fasten and easy to install

Color
First generation product:

Second generation products:


1. Measure and mark:
Measure the dimensions of the wall to determine the height and width of the installation area.
Mark the location of the keels on the wall, generally 400-600 mm apart.
2.Install keel:
Fix the joists to the wall, making sure they are vertical and evenly spaced.
If it is a concrete wall, you can use expansion bolts to fix the keels; if it is a wooden wall, you can fix it directly with screws.
Use a level to check the level and plumbness of the keel.
3.Install starter strip:
Install Starter Strip at the bottom of the wall, making sure the Starter Strip is level.
The function of the starting strip is to fix the first wood-plastic exterior wall panel.
4.Installation of wood plastic exterior wall panels:
Insert the first wood-plastic exterior wall panel into the starting strip and fix it to the keel with screws or special clips.
There needs to be a certain expansion gap (usually 5-10 mm) in the connecting part of each board to accommodate thermal expansion and contraction.
When installing the next wood-plastic exterior wall panel, insert it into the groove of the previous panel and fix it on the keel.
Repeat this process until the entire wall is covered.
5.Cut and adjust:
Cut the WPC siding panels as needed, making sure each panel is the right size for where it will be installed.
Make sure the cut edges of each board are flat and smooth.
6.Treat edges and corners:
Use special edge strips and corner strips to treat the edges and corners of the wall to ensure aesthetics and waterproofing.
Use waterproof sealant to treat gaps between boards to prevent water from penetrating.
Enhance your outdoor decor with our waterproof WPC panels that offer durability, versatility and a wide range of design options to simplify decorating.


Discover our High-Density Waterproof Outdoor Cladding Panels, perfect for exterior walls. These UV-resistant composite panels are durable and weatherproof, ideal for outdoor furniture and decking.Learn about our high-density waterproof outdoor cladding panels for durable exterior walls. These UV resistant composite panels are ideal for use as outdoor furniture and flooring materials.
Hot Tags: first generation waterproof outdoor wood plastic wall panel, China first generation waterproof outdoor wood plastic wall panel manufacturers, suppliers, Outdoor Privacy WPC Fence, WPC Fencing Panels, Fireproof Moisture Proof WPC Ceiling Panel, WPC Outdoor Fence, 3D Embossed WPC Composite Decking, Eco friendly Solid WPC Decking


